
Setting up IBA Scan v2.5

The IBA Scan v2.5 integration automatically sends your sales data to Independent Brands Australia in order to receive your scan rebates and remain compliant with your banner group.
Sales are sent in real-time through to IBA and automatically queue and retry on outages and can be automatically retrieved by IBA's system.
Setup of the IBA Scan v2.5 integration is typically performed by either your BDM or by Shopfront.
Before you Begin
You'll need the following information from IBA:
- Your Store ID,
- Your ABN,
- A Client ID for scan data,
- A Client Secret for scan data,
- A Scope for scan data,
- The Requester Site ID for scan data (typically the same as your Store ID)
Whilst not required, to get the correct Metcash Standard Commodity mapping, you may wish to enable the Metcash Host File integration.
Integrating IBA Scan v2.5
Once you have the above information, you'll need to connect and allow the integration to access your information stored on Shopfront. Using an account with either no role or a role with the required permissions, you'll need to integrate the IBA Scan v2.5 application into Shopfront.
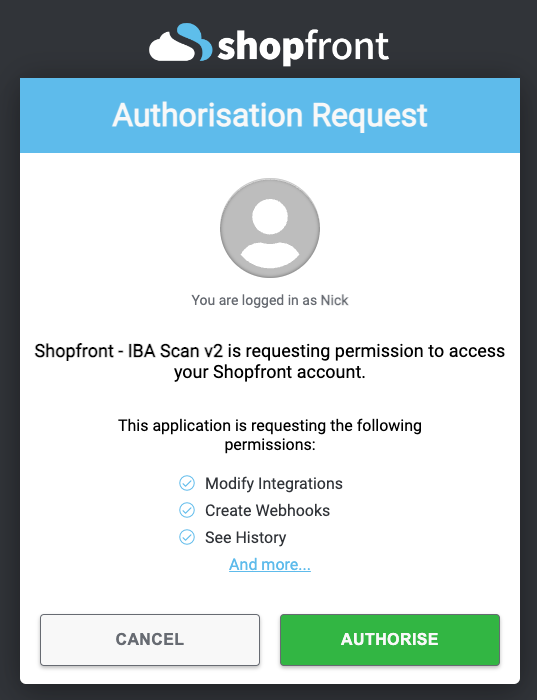
The required permissions for the IBA Scan v2.5 integration are currently:
- Modify Integrations,
- Create Webhooks,
- See History (to access your sales data),
- Run Advanced Reports (to access end of day summary information about your sales),
- See Classifications,
- Manage Gift Cards (to retrieve gift card information within sales),
- See Cost
To do this, on Shopfront open the Menu and go to Setup then Integrations.
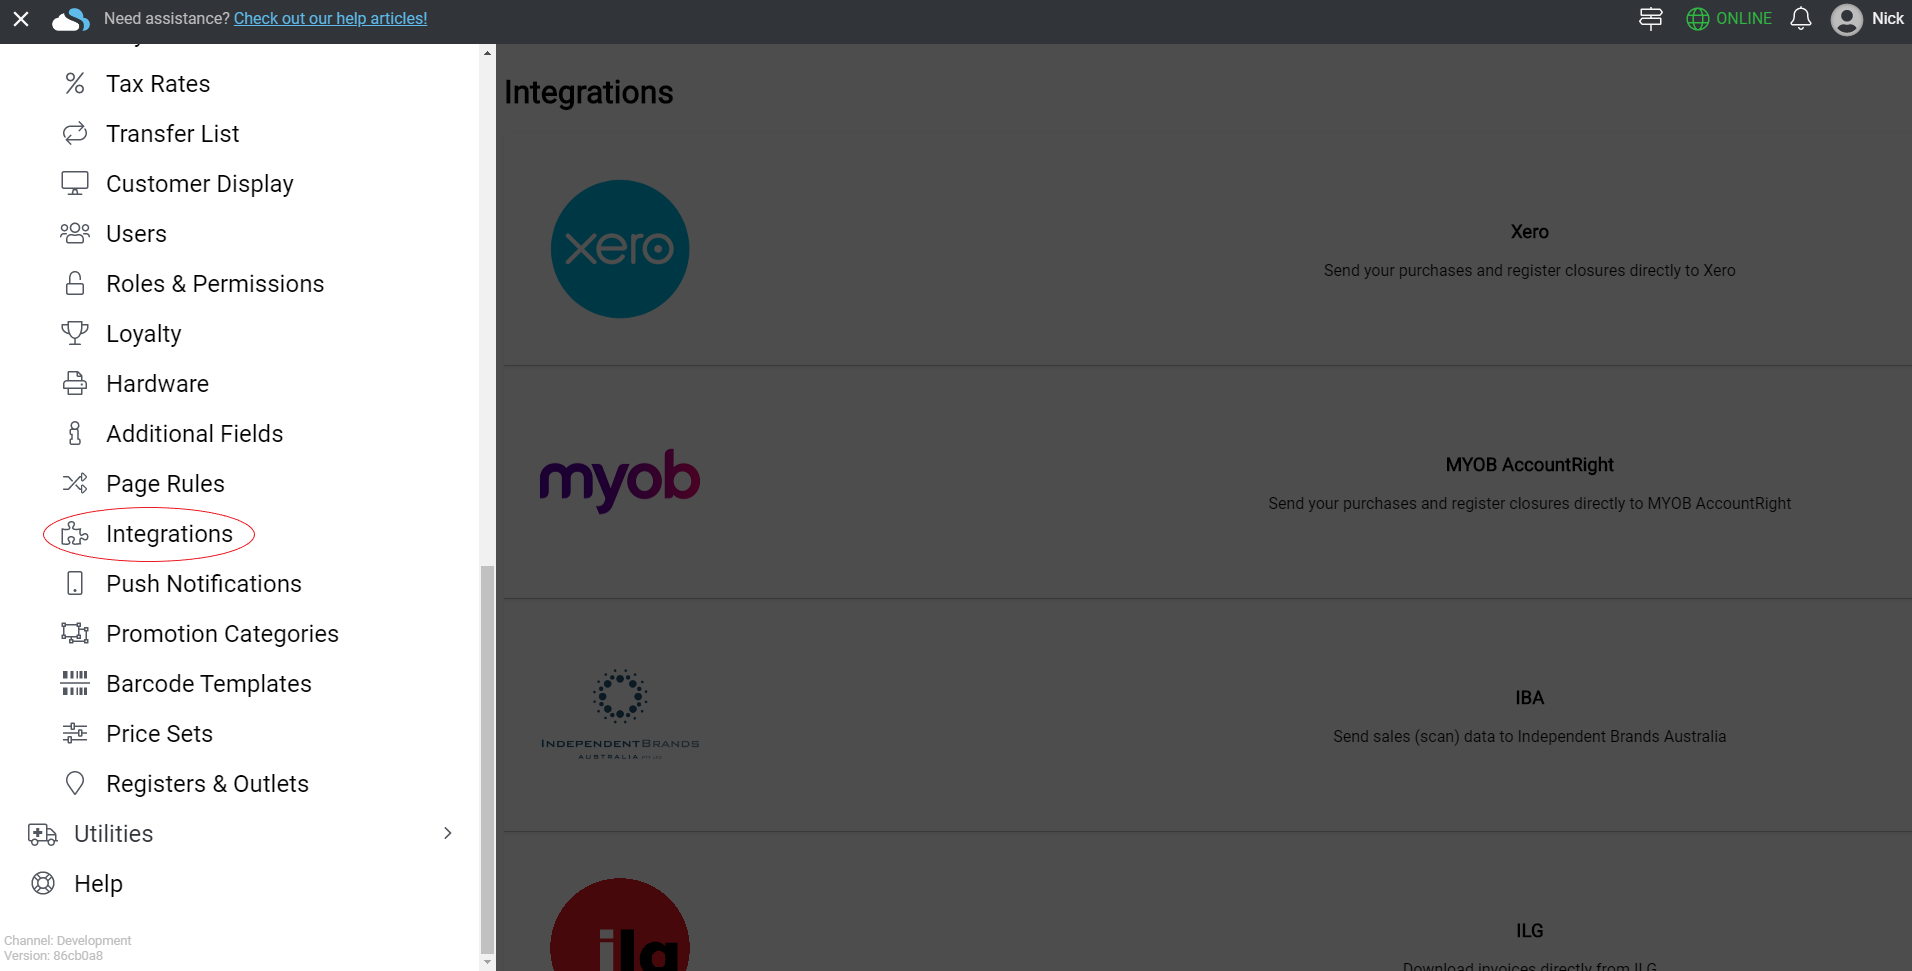
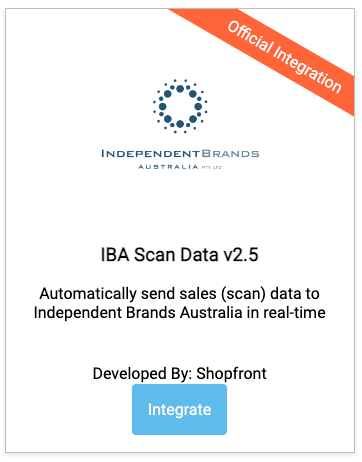
On this page you'll be displayed with a list of integrations, scroll down to the IBA Scan v2.5 integration and press the blue Integrate button.
You'll then be redirected to the integration approval screen, select AUTHORIZE to continue.
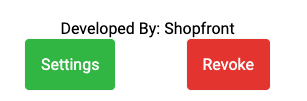
After a moment you'll be redirected back to the Shopfront integrations page. Scroll back down to the IBA Scan v2.5 integration and press the green Settings button after it appears.
On the settings page you'll need to fill in each field (from the data obtained in the previous step) for each Outlet you want to be sending data to IBA.
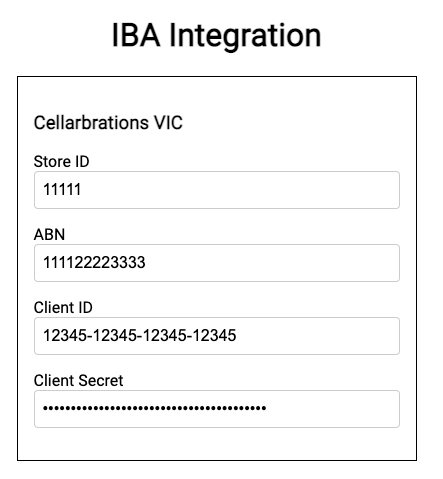
Once the details have been filled in, press Save.
That's it! The IBA Scan v2.5 integration has been fully setup and is ready to go.